How to Rename Your AI Chatbot
Changing the name of your chatbot is a simple process that helps you align the bot's identity with your brand or its specific use case.
Choosing the Right Name
Your bot's name is often the first thing a user reads in the header. Consider the following approaches: - Persona-based: "Sarah from Support", "Alex - Sales Assistant". This humanizes the interaction. - Brand-based: "RhinoBot", "AcmeHelp". Reinforces brand recall. - Function-based: "Order Tracker", "AI Concierge". Sets immediate expectations on what the bot can do.
Important Requirement: Disable the Agent First
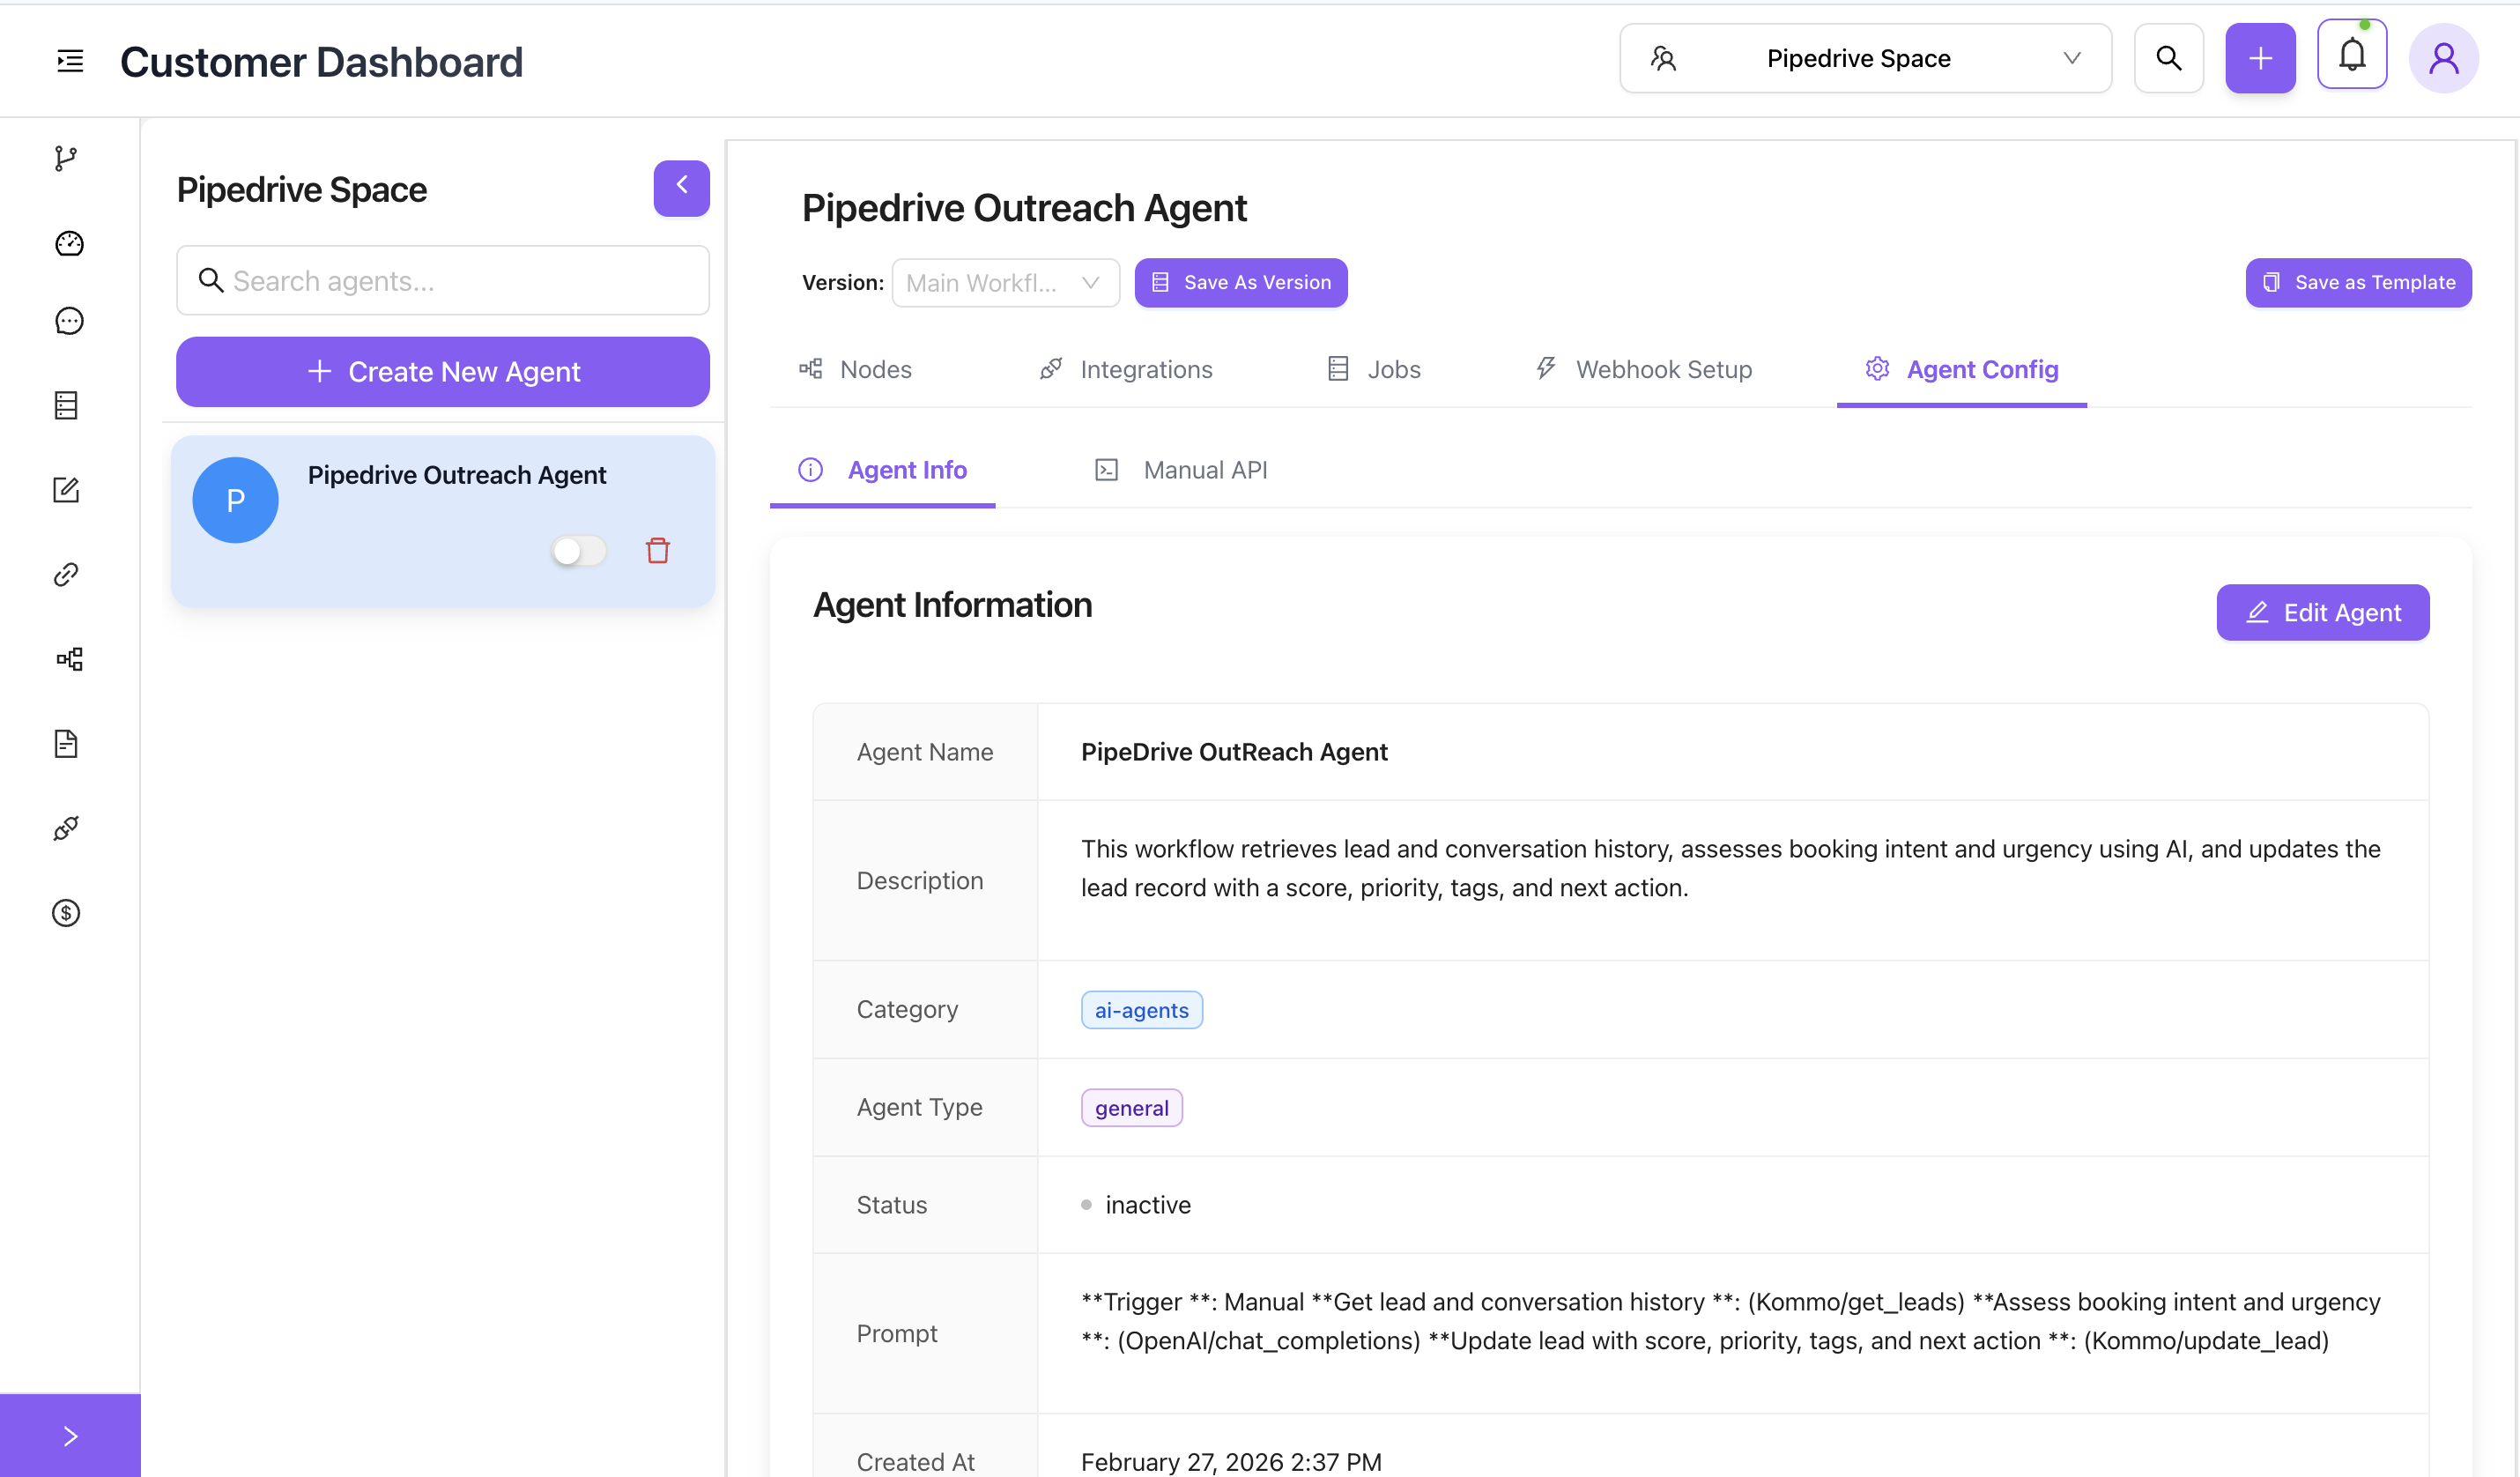
To make any changes to an agent's core configurations (including its name), the agent must be disabled (inactive).
- Navigate to the Agent Info tab of your chatbot.
- Under your agent's name on the left panel, locate the status toggle switch.
- Toggle the switch off so the status is
inactive(grayed out).
Steps to Rename
- Once the agent is inactive, click on the purple Edit Agent button.
- The "Edit Agent Information" modal will appear.
- Locate the Name Field: Find the Agent Name input box at the top.
- Enter New Name: Type your carefully chosen new name for the chatbot.

- Save Changes: Scroll to the bottom and click the purple Update Agent button to apply the new name.
- Don't forget to toggle the agent back to active when you are ready to deploy it!
Immediate Updates
The new name will be immediately visible to users interacting with the embedded widget or public link as soon as they open a new session. You do not need to update your embed code.