How to Update Your Chatbot Image (Avatar)
Giving your chatbot a custom avatar or company logo helps personalize the experience and reinforces your brand identity when users interact with the bot.
Why Use a Custom Avatar?
- Professionalism: A branded logo shows users they are speaking to an official representative tool of your company.
- Personification: A friendly avatar (like a mascot or human face) can increase engagement rates and make users more comfortable asking questions.
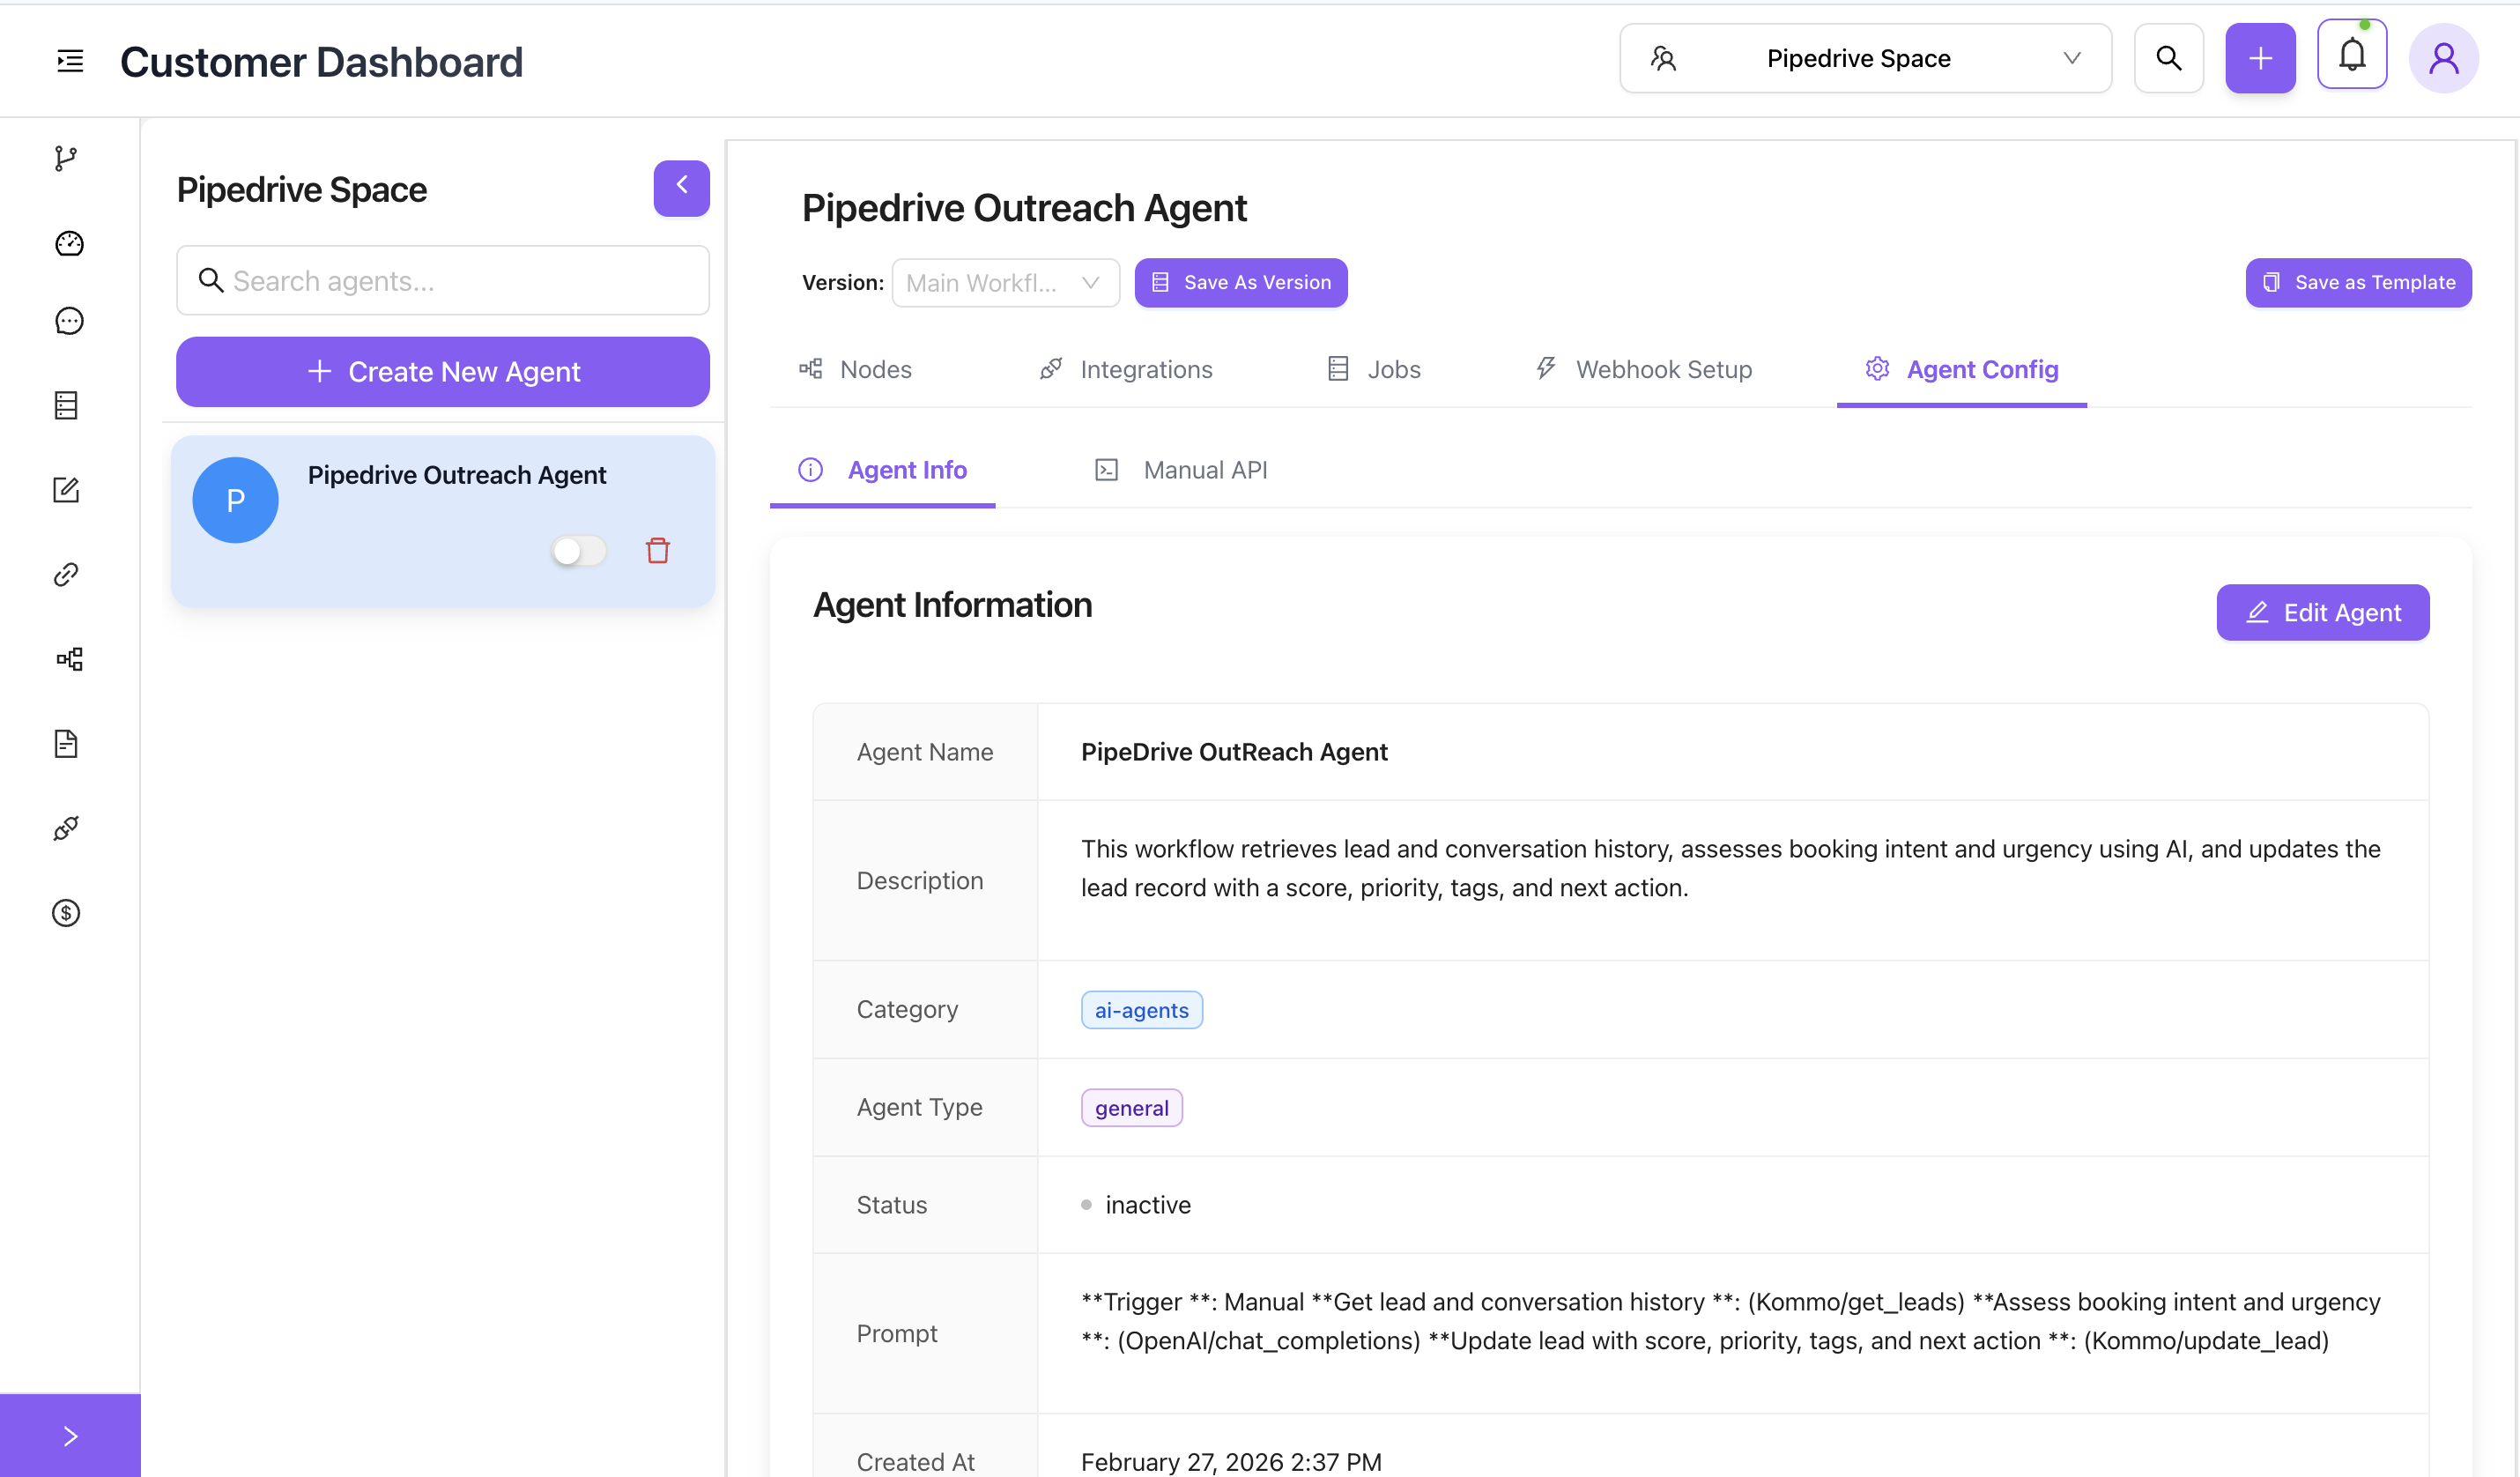
Important Requirement: Disable the Agent First
To update an agent's image, the agent must be disabled (inactive).
- Navigate to the Agent Info tab of your chatbot.
- Under your agent's name on the left panel, locate the status toggle switch.
- Toggle the switch off so the status is
inactive(grayed out).
Steps to Update Image
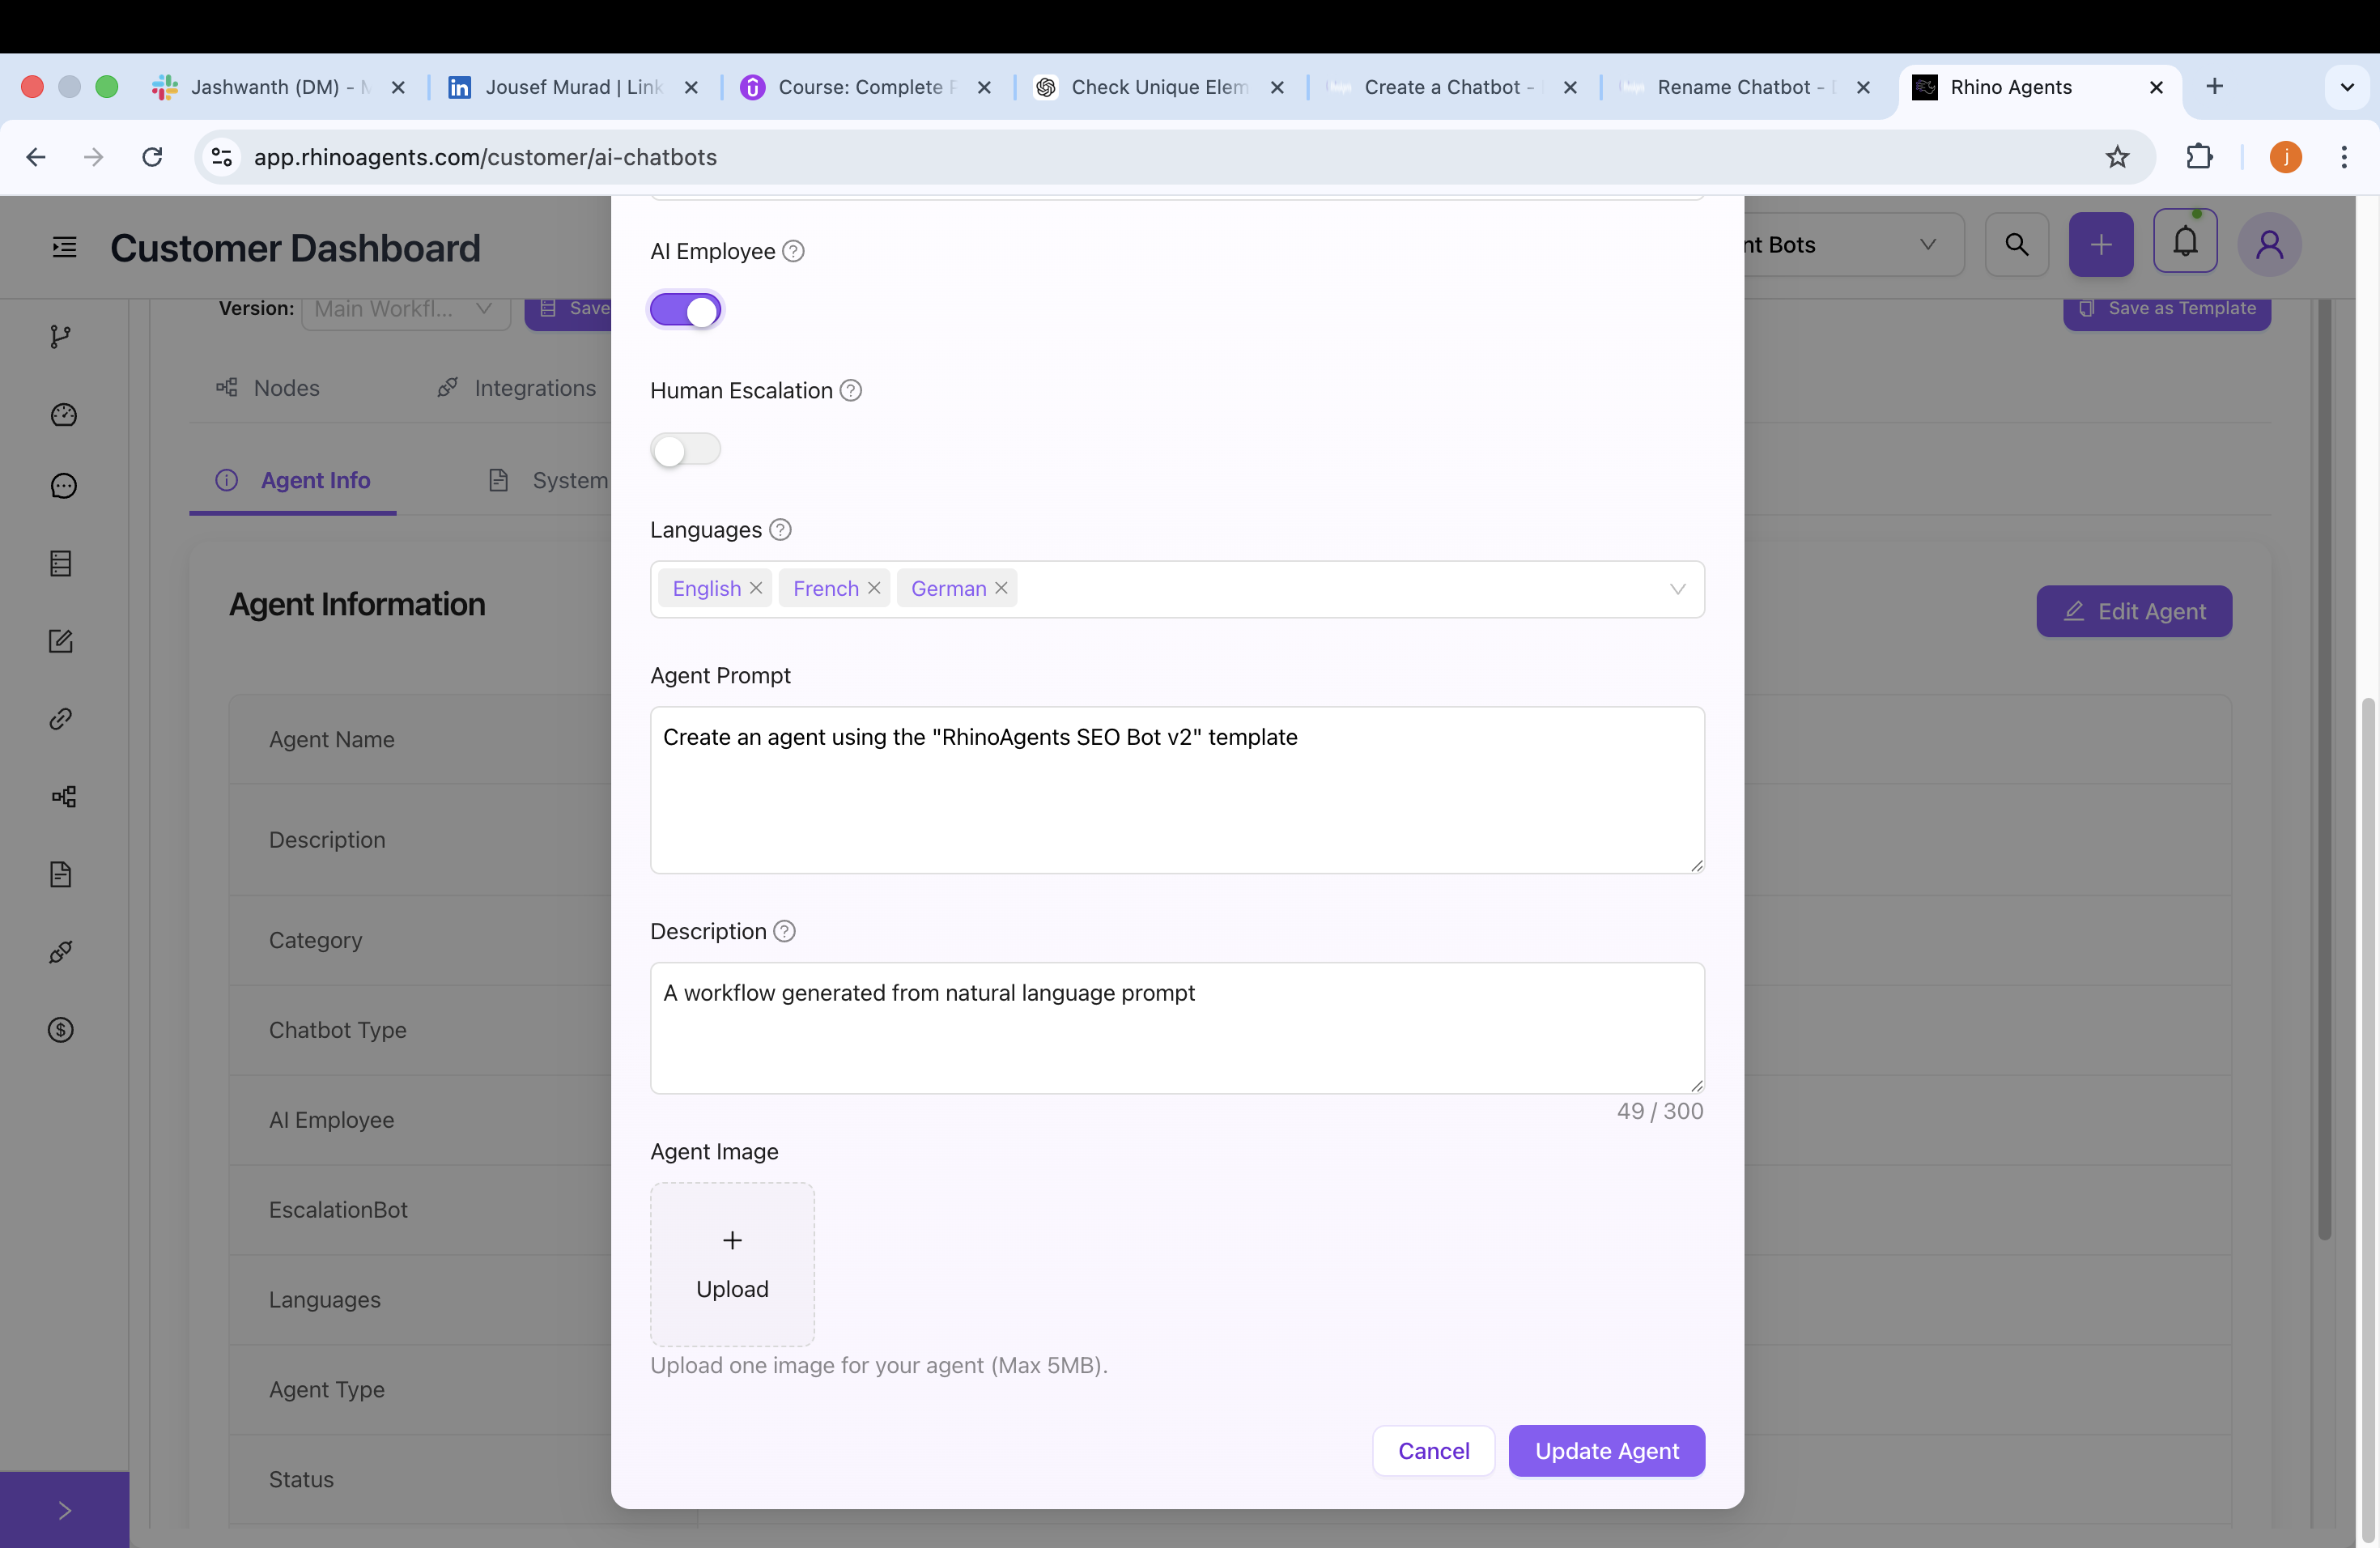
- Once the agent is inactive, click on the purple Edit Agent button to open the configuration modal.
- Find Image Section: Scroll down in the modal to the Agent Image upload box.
- Upload New Image:
- Click on the Upload square (marked with a '+').
- Select an image file from your computer (Max 5MB).
- Image Format Tips: PNG with a transparent background or high-quality JPG are recommended. The image will be cropped into a circle, so a square aspect ratio (e.g., 400x400 pixels) where the main subject is centered works best.
After selecting an image, it will be previewed in the avatar upload area to confirm it loaded correctly:
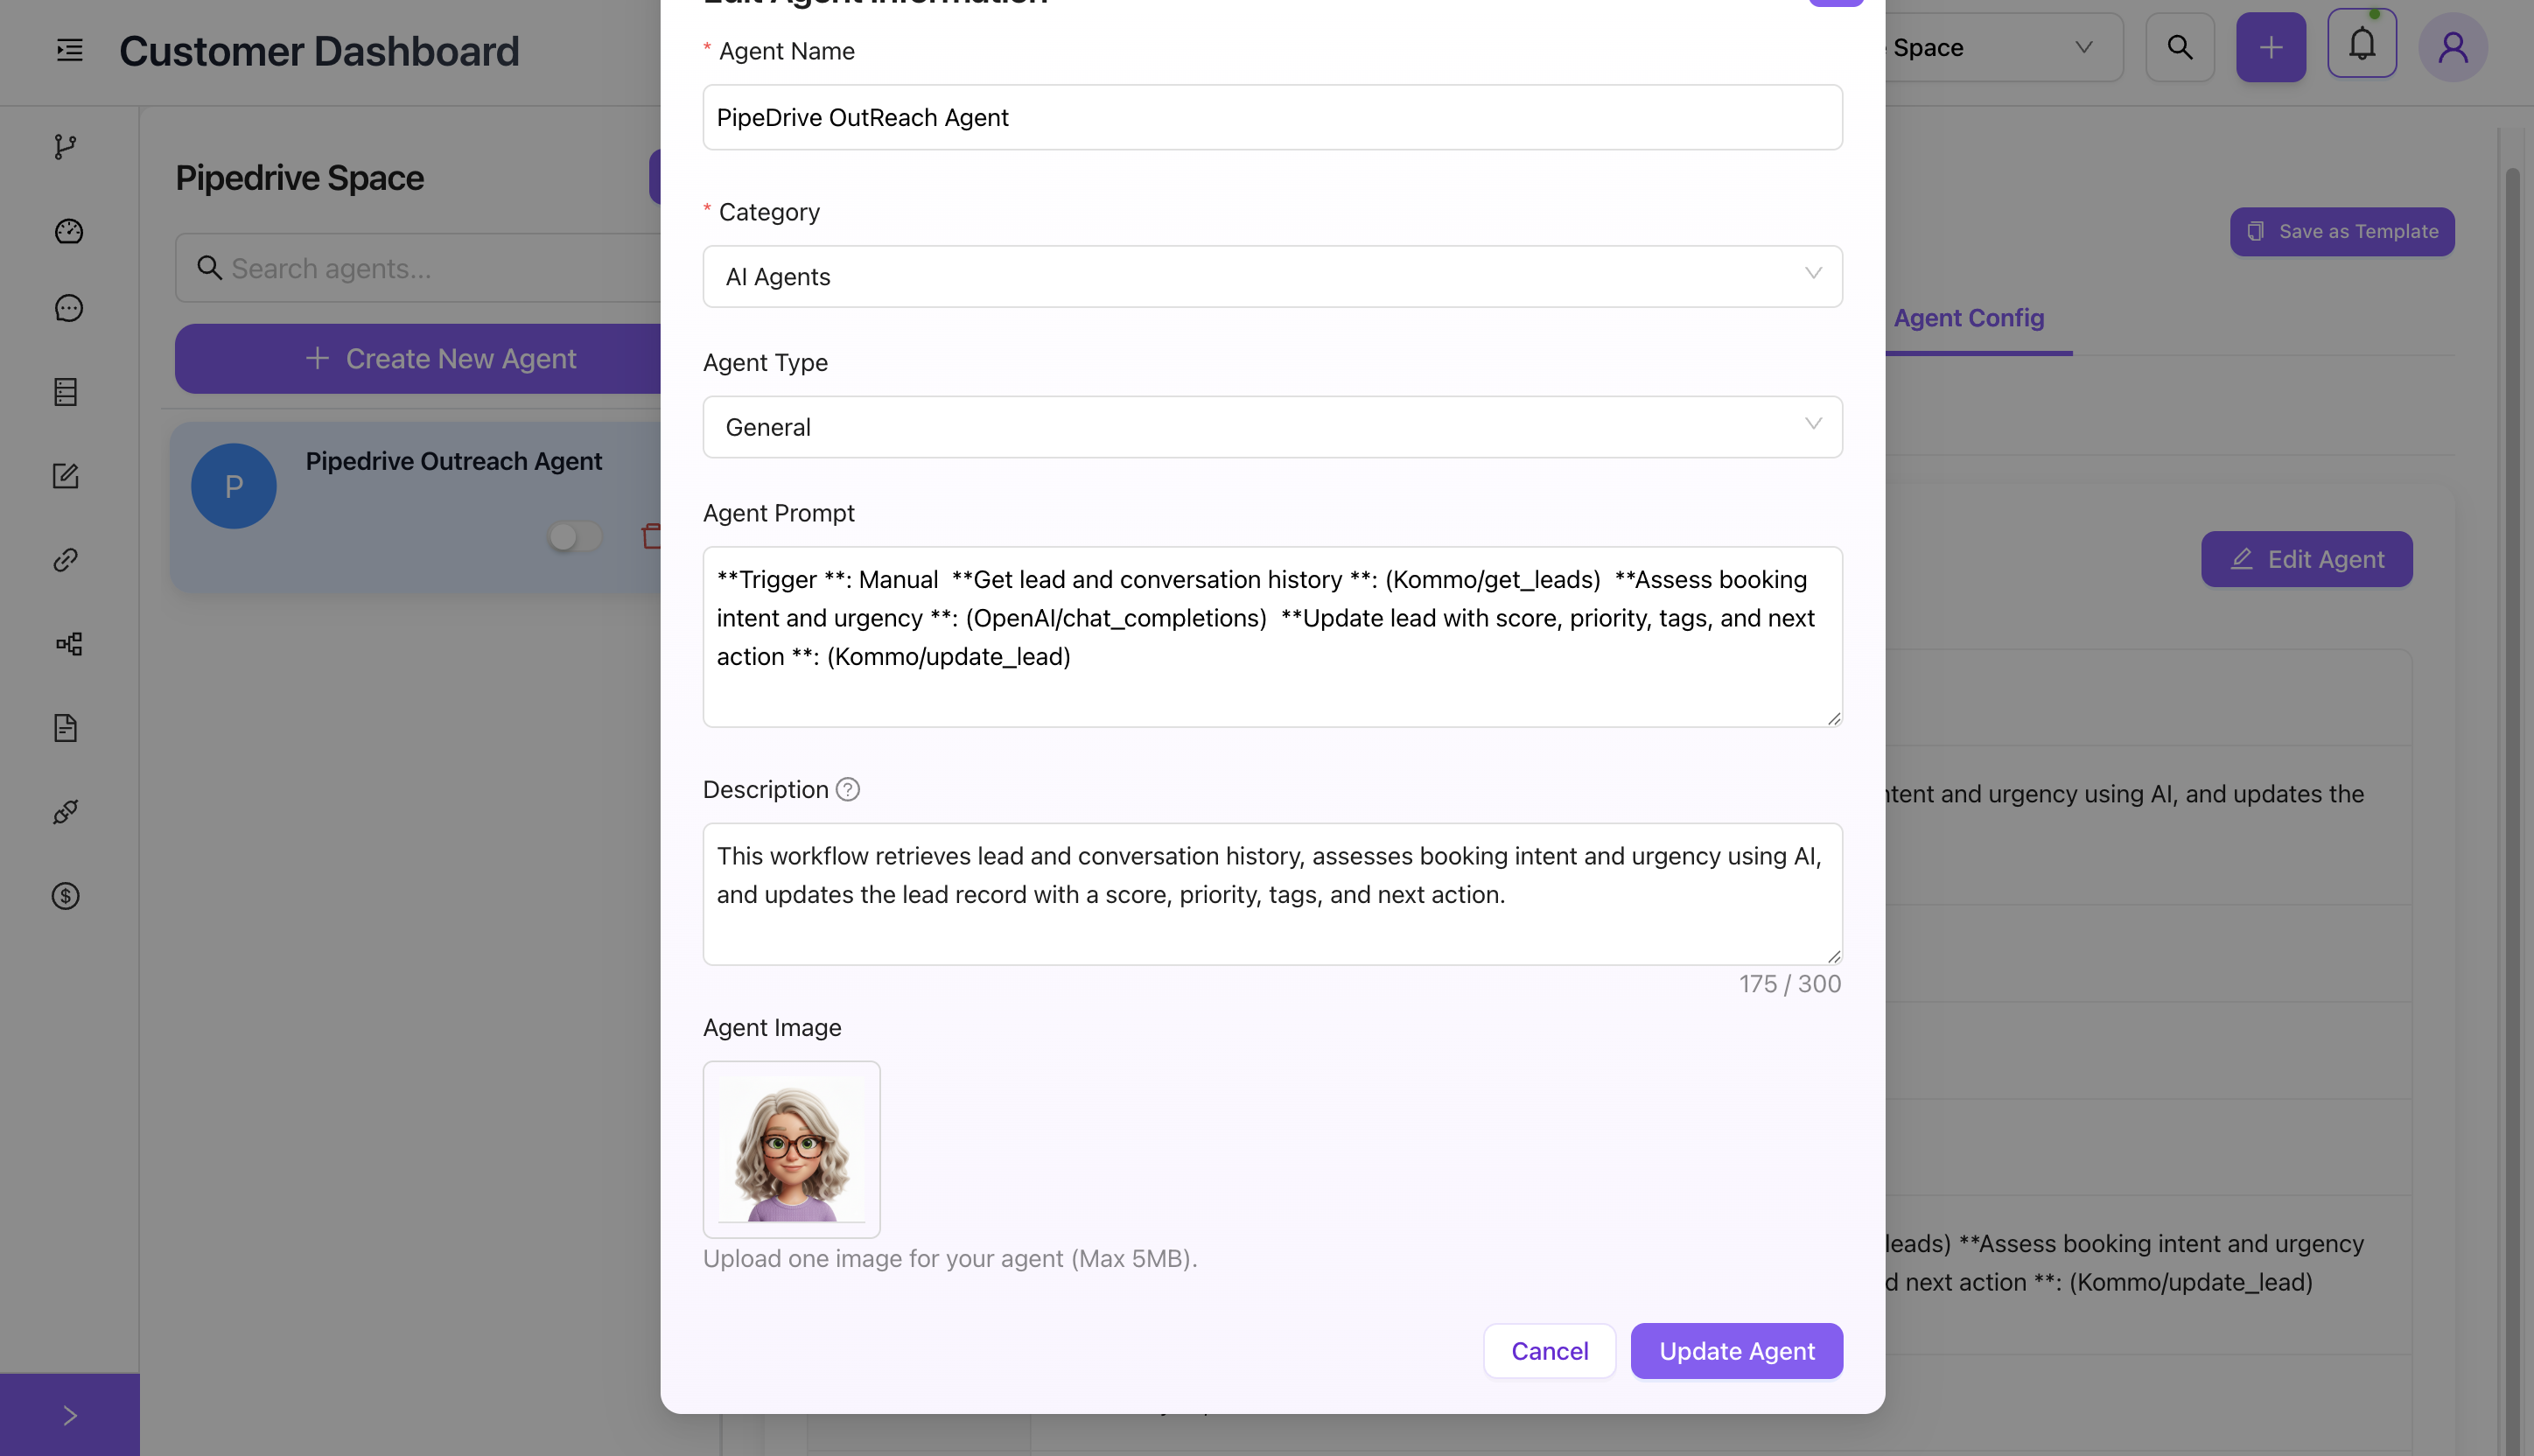
- Save Changes: Once the image is visibly previewed, click the purple Update Agent button.
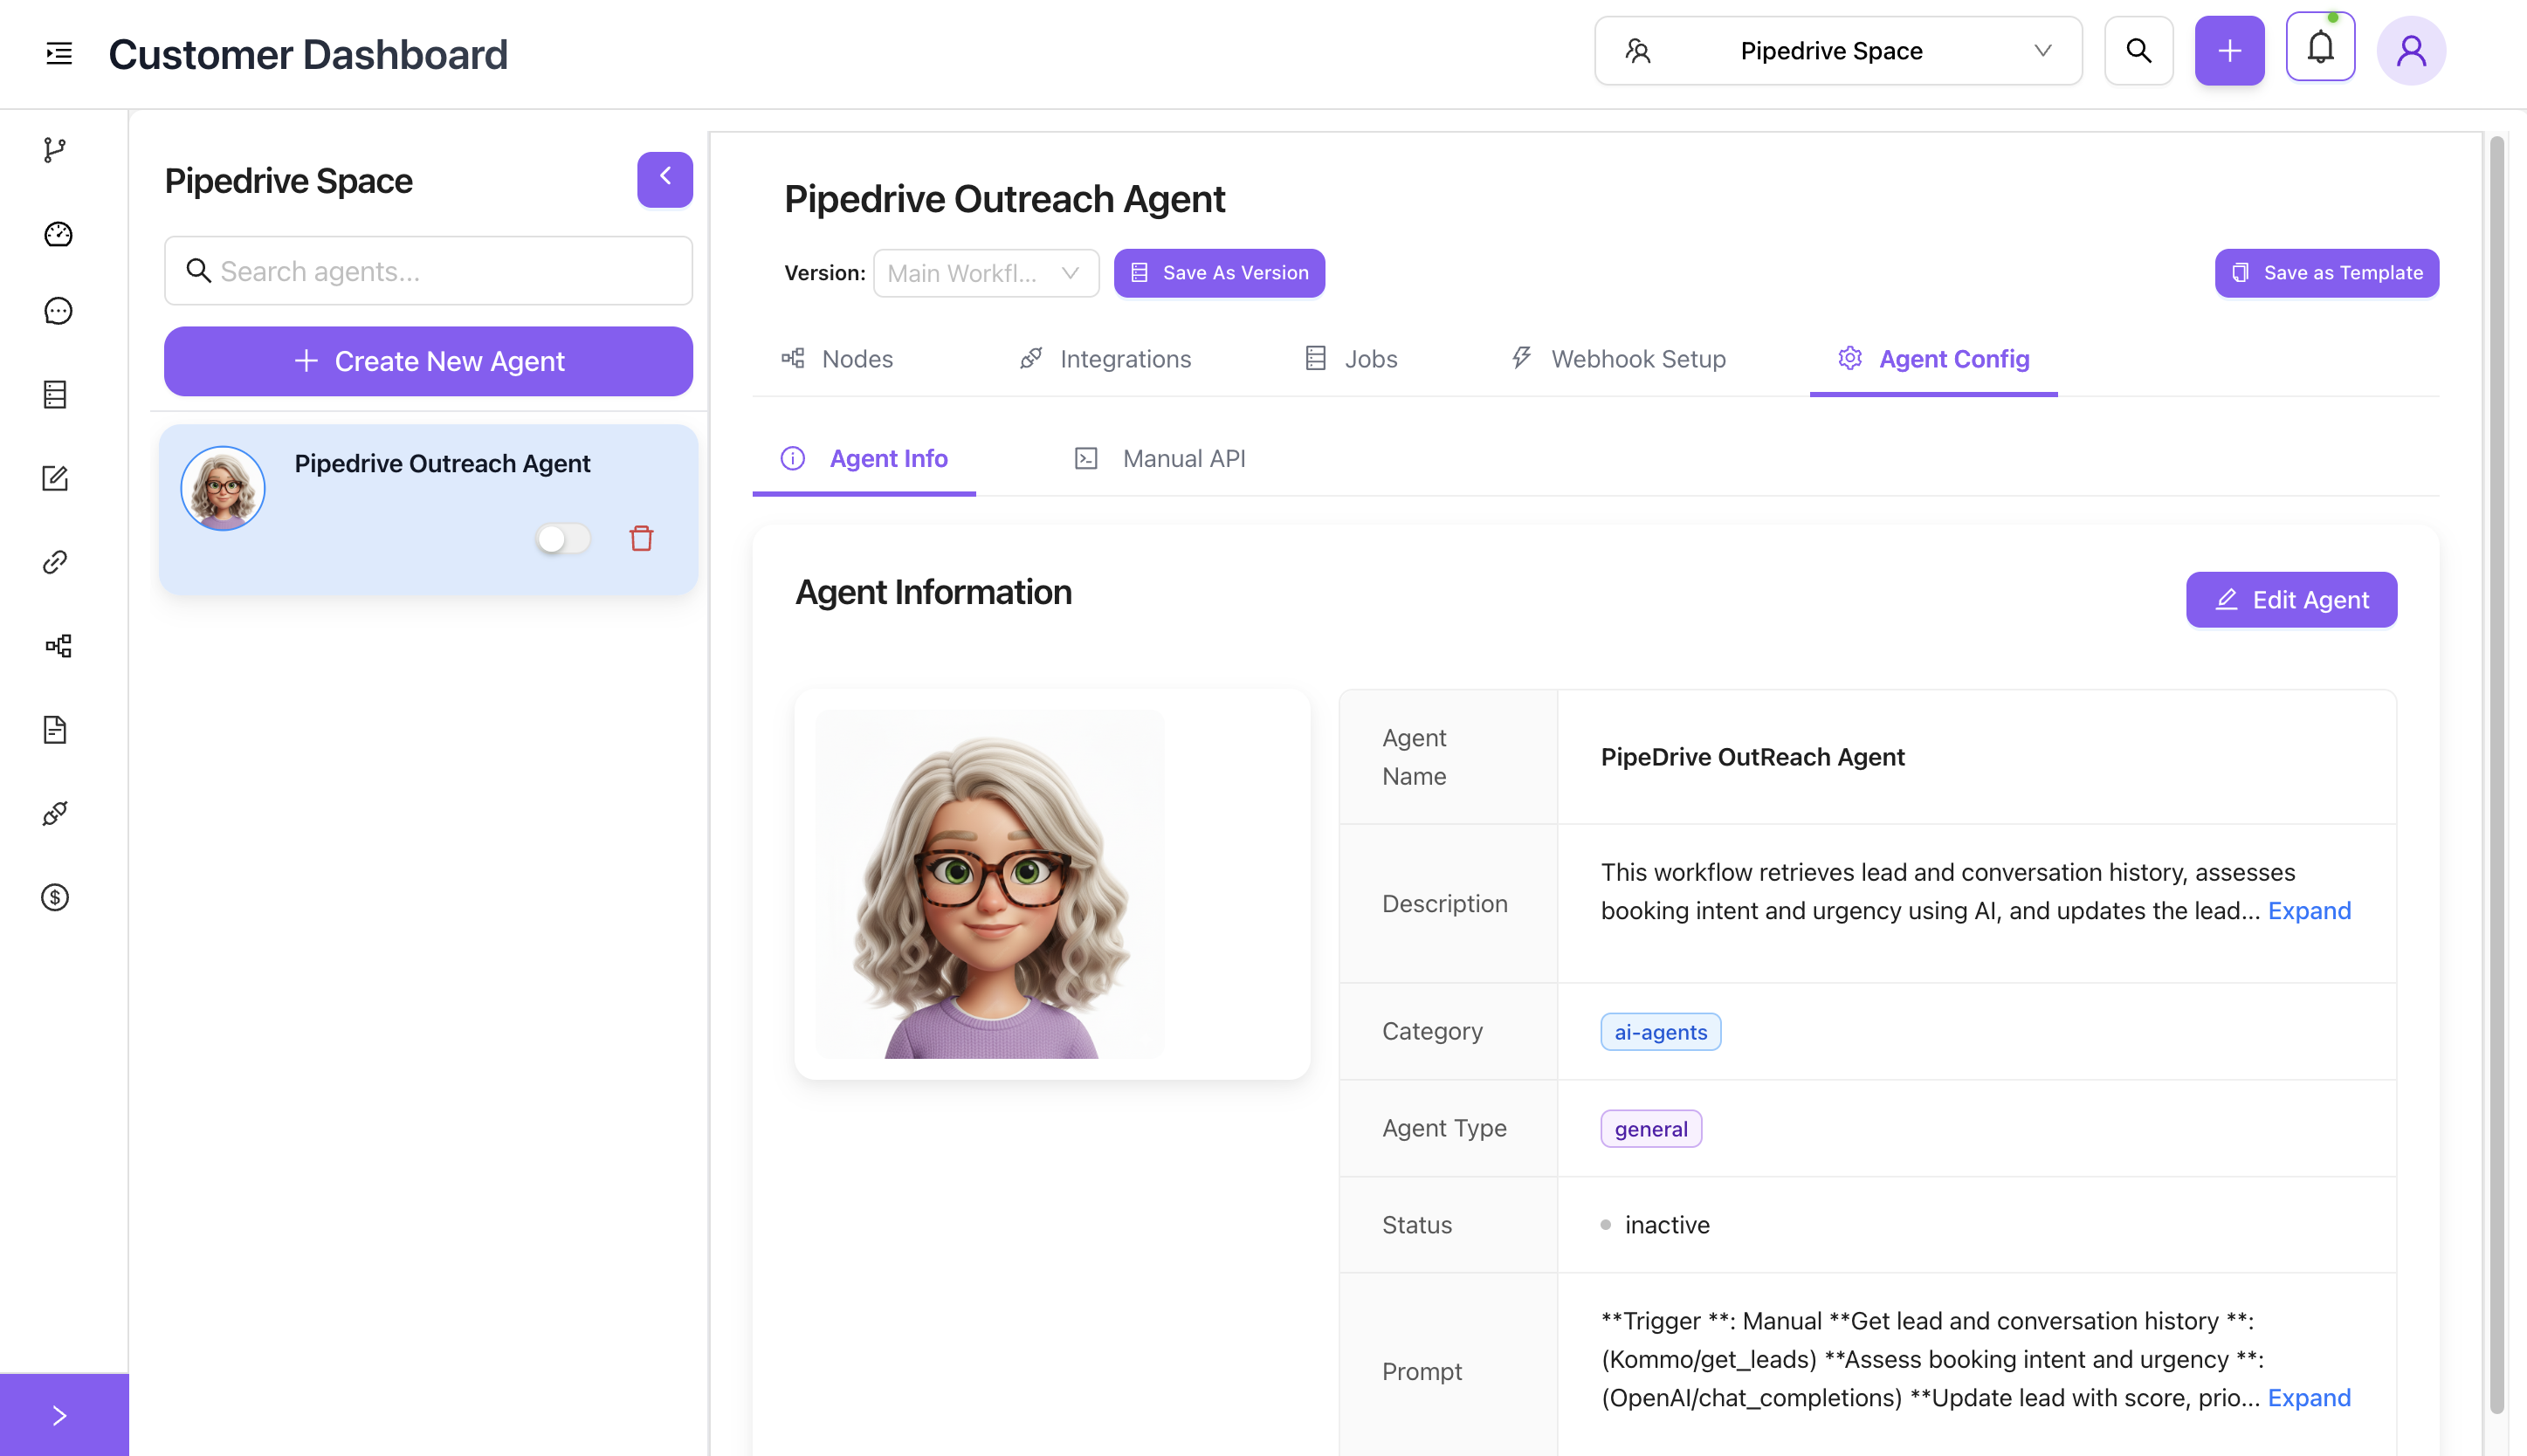
Your new chatbot avatar is now saved and associated with the agent. You will see it displayed in the dashboard and in the chat header:
- Re-enable the agent by toggling the status switch back to active.